6 Steps To Interior Door Installation
You may be starting from scratch or you perhaps wish to replace a door that is somewhat distressed or merely showing a little too much wear-and-tear from years of use. In such cases, consulting a door frame repairman can ensure that any issues with the frame are addressed before installing the new door. Irrespective of which, installing a door is both straightforward and quick.
The project merely requires a few tools, and if you don’t already own them, you can hire them for a day.
Do note, given that pre-hung doors are the most popular around the nation, we’ve provided step-by-step instructions to cover this particular process.
Step 1: Purchase the door
Invest in a door that will roughly fit the size of door openings in your home. In general, doors and door openings are standard in size: 24-36 inches. The interior of the door frame always measures a little wider than the actual door. And for obvious reasons, as this permits adjustments to be made during the installation procedure so that plumb “level” can be achieved.
Step 2: Make the preparations
Begin the process by drawing a plumb line down the wall. Measure a half-inch in from the door opening at the side where the hinges are situated. Using a 4-foot or 6-foot level, draw a line on the drywall. If you prefer, you can opt for a laser level, as this will likely be easier and will be a little more accurate. Many laser levels can be attached to a wall for further convenience.
Step 3: Attach the brackets for door installation
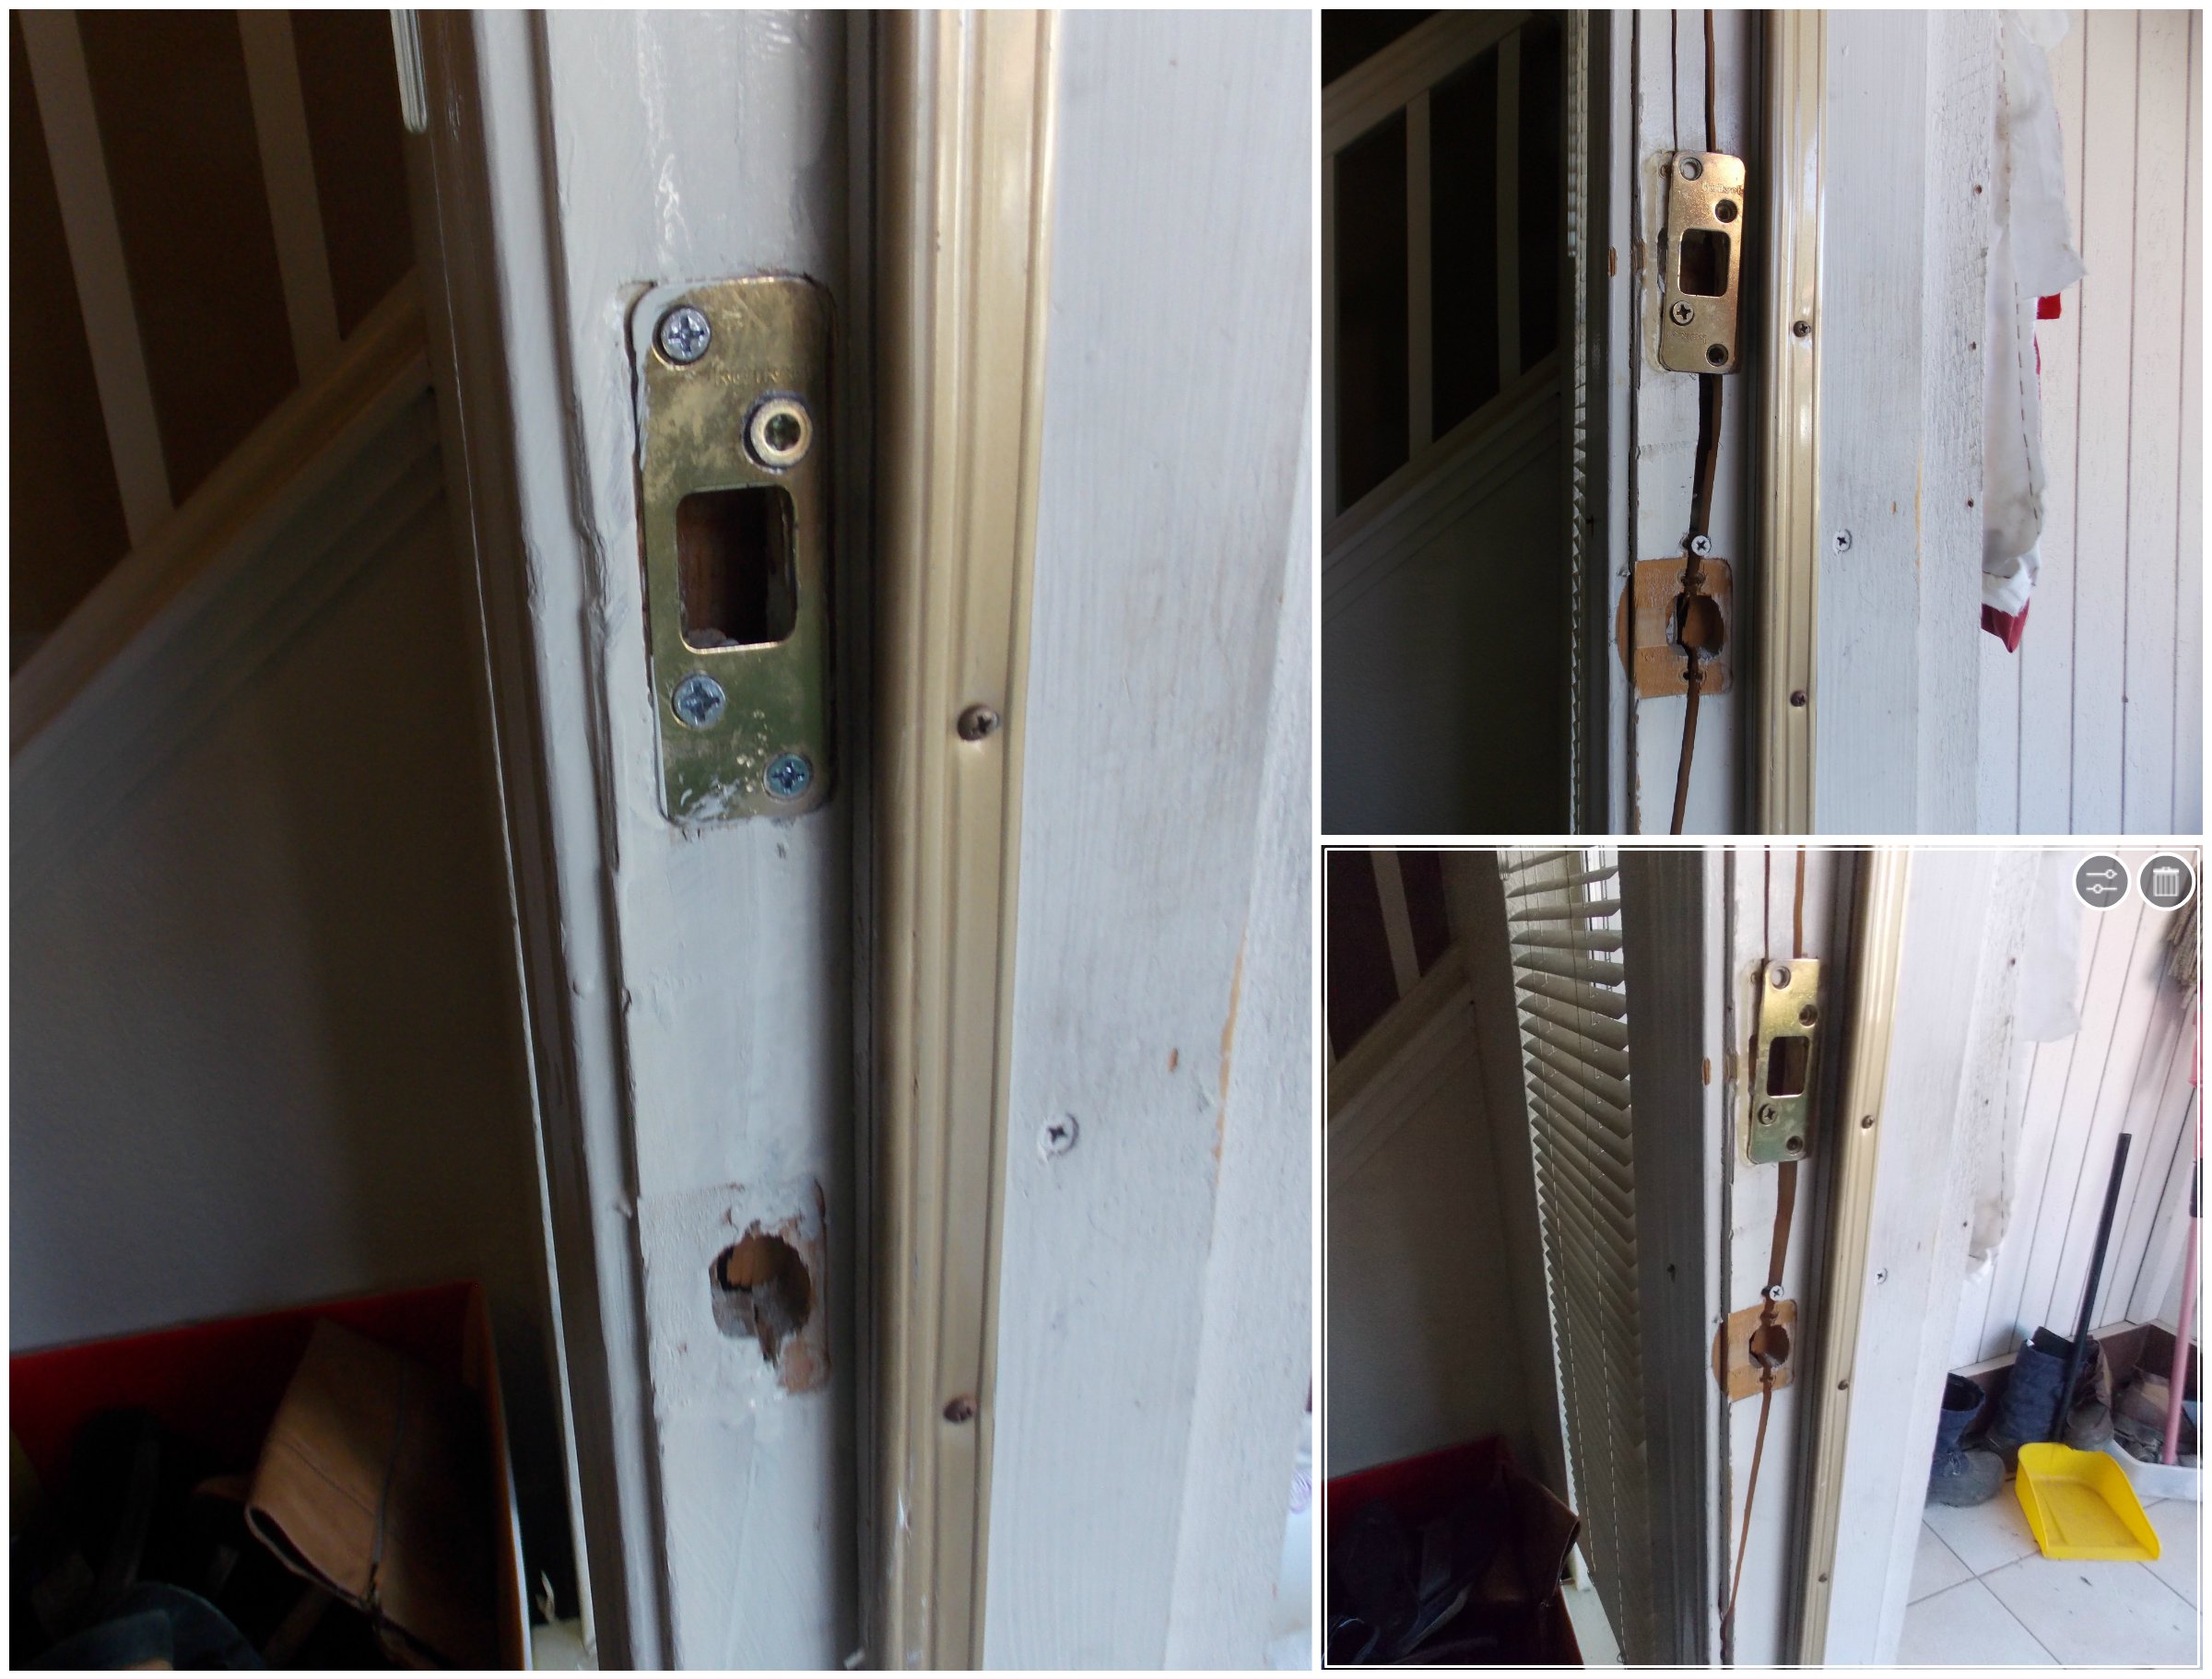
Now it’s time to attach the installation brackets, of which there should be six. Position these to the exterior of the door jamb – the jamb being the wooden frame that lines the doorway. Position one bracket at the rear of each door hinge – there will be three hinges in all. Next, attach the three remaining brackets to the alternative side of the jamb.
The initial bracket should ideally be eight inches from the top. The middle bracket can be located a little above the level of the latch stop. The final bracket should be located some eight inches up from the base of the door.
Step 4: Position the door in the opening using shims or blocks
If hardwood flooring or carpeting is to be laid, place half-inch blocks underneath the door. If laminate is to be installed, use quarter-inch blocks instead. You should avoid placing the door on unfinished flooring directly as the measurements will be inaccurate.
Step 5: Attach the brackets
In accordance to the plumb line that’s on the wall, screw the top bracket into the drywall on the door’s hinged side. Then, fix the remaining two brackets in place utilizing the same reference notch as with the initial bracket.
Once all three brackets are firmly screwed in, the door should be level. When screwing in the remaining three brackets, check the reveal. The reveal represents the gap between the door jamb and the door itself.
Begin at the top of the door, and as you start to screw the bracket in place, check the reveal. Repeat the same procedure for the other two brackets. The blocks below the door can now safely be removed and the door should be hung perfectly.
Step 6: Install the casing
The casing, which is also referred to as the trim, represent the strips of wood that serve to hide the joints in addition to the interior parts of the hinges. If the casing/ trim is installed correctly, the door installation brackets should be entirely concealed.
Opt for casing which compliments the fashion of the door and use mitered corners or another style, depending on your own preference, to cut it.