Bathroom Fan Installation and Repair by Sacramento Handyman
Tired of stepping out of the shower into a bathroom full of steam and mirrors fogged over?
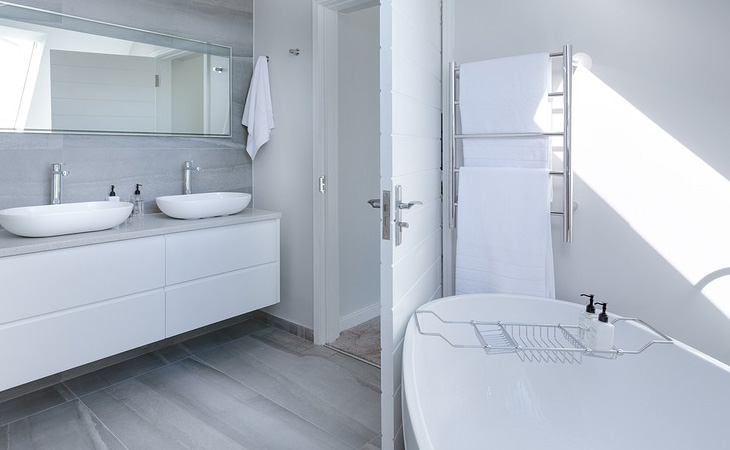
Does your bathroom have a fan?
It may be time for a bathroom fan installation and repair.
A bathroom fan is not just for odor; it can also remove the steam and humidity. Steam and moisture can cause issues in your bathroom such as mold, mildew, wood that becomes damaged.
Installing or repairing a bathroom fan is generally, better left up to the professionals like us.
Sacramento Handyman can perform both installation and repair of bathroom fans.

Bathroom Fan Installation
A bathroom fan installation is pretty straightforward; however, if you have no experience in electrical or hitting a hole in the ceiling and roof, you should allow a professional to do the job.
Before we get to installation though, let us look at some reasons for installing a fan.
- Reduce moisture
- Reduce odors
- Stop bathroom mirror and fixtures from becoming wet from steam of shower
The Installation
Installing a fan is not extremely hard if you have some knowledge of wiring and venting. Just remember you will be cutting a hole in your roof.
Below are the steps for installing an exhaust fan in the bathroom.
Things you will need to have:
- Bathroom Exhaust Fan
- Roof Vent
- Drill
- Saw
- Wire Nuts
- Wire Strippers
- Screwdriver
- Shingles
- Caulk
- Roof Sealant
- Roofing Nails
Do not install the exhaust fan over the shower; the best place is generally, over the toilet.
NEVER vent your bathroom exhaust fan into the attic or a subfloor the moisture will create an environment for mildew and mold.
The primary thing you need to do is decide where you will place the exhaust fan and then use long nails to mark the corners so that they protrude into the attic. If you have no attic, you will need a stud finder to install your exhaust fan.
Once you have the place marked out, you will need to open the area by using the saw. It is best to place the exhaust fan on the attic floor/bathroom ceiling and trace around it as a pattern. That way you do not cut the hole too large.
Then you have to cut the hole in the roof just large enough for the vent and vent pipe.
You will then cut away roof shingles carefully so as not to damage roofing paper under them just around the vent pipe. Attach the roof vent so that the bottom rest on the shingles, place roof sealant on the bottom of the vent. Then nail the vent with roofing nails, and then put on new shingles.
Connect the vent to the ductwork with clamps. You will want to wrap the joints of the ductwork with duct tape.
Next wire up the exhaust vent and then last wire up the switch.
You can save yourself from getting a headache and hassles by hiring us; Sacramento Handyman they will do a proper installation and clean up when they are done.
Bathroom Fan Repair
If you already have a bathroom fan that is not working right or not working at all, then you will need to do a bathroom fan repair.
You can either do by yourself or call a handyman.
The problems could be something blocking the vent ducts, or it could be in the wiring. Once you know the issue, you will be able to fix it.
If you visually inspect the bathroom fan and can find no reason for it not to work, it may be easier for you to call a handyman as he will more than likely have an electric meter which can help diagnose the problem.
We at Sacramento Handyman can diagnose and fix your bathroom fan in no time.
24/7 Price Quote Request
Describe your next project in a short detail and we will send you an estimate in 24 hours or less.
Free Estimate!