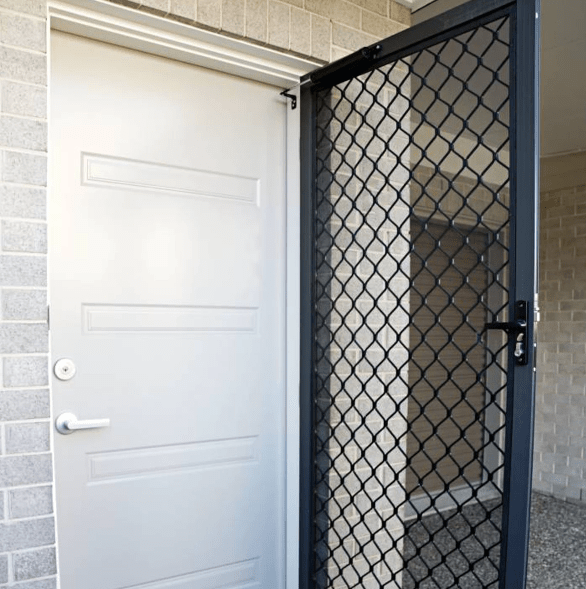
How To Rescreen A Door
Screen doors are great for allowing fresh air into your home, without the burden of insects and other animals coming in or going out. However, over time the screen portion of the door can develop tears in it, become loose, or come out altogether. In this post, we will examine at how to rescreen a door. It isn’t as tricky as it sounds. The most important part has the correct tools, and materials to get the job done correctly.
You will need to have a screen that fits the replacement area. When purchasing the new screen, make sure it is 2 inches over on each side. You will also need to buy new spline for the replacement if the old one is damaged. The spine is the rubber that will secure the screen into the frame. The only tools you should need are screwdrivers, an awl, and convex roller.
Step 1: Removal
To start the installation, you must first completely remove the old screen and spline. It will be easier if you remove anything that is obstructing access to the screen, like handles. To get the spline out, you will want to you an awl, to prevent damaging it.
Step 2: Clean & Measure
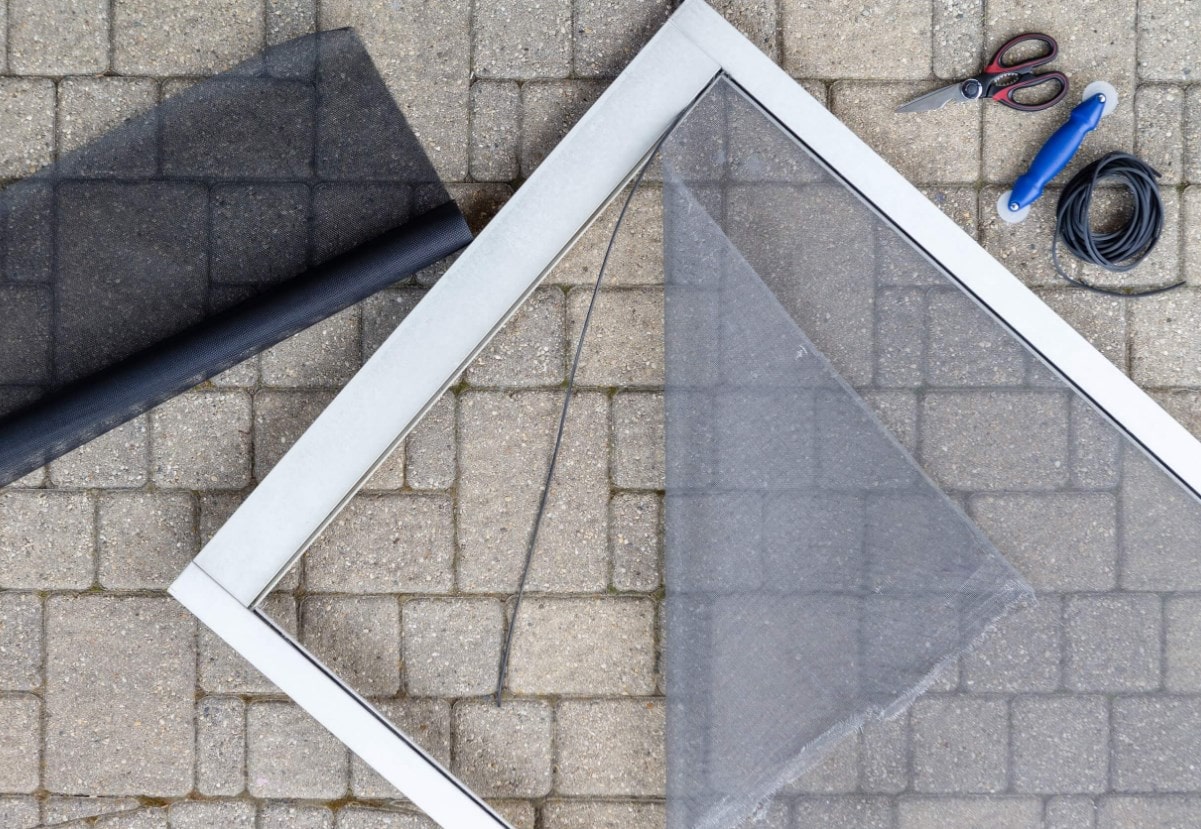
Clean the area thoroughly to ensure the installation of the new screen will go smoothly. Measure the area of where the screen is located, and as stated previously, add two inches to each side. At this time, you will be able to purchase your replacement items.
Step 3: Remove The Rollers
You will want to remove the rollers to make installation easier. To remove you will merely pry away from the door. Some utilize clips, in which case you will press down on them.
Step 4: Installation Of New Spline
Measure the amount of spline you will need for each side, and use scissors to cut. It’s necessary to note that you need to have the exact diameter of spline that was used initially. Waiting to go to the store to purchase the screen and spline after removal will help get you the right products.
Step 5: Screen Alignment & Securing In Place
Next, you will want to lay the screen on the frame making sure it is even on all sides. The tighter you can keep the screen during this process the better it will turn out. Using the convex roller to press the screen into the grooves firmly. Then you will lay the spline on top, and use the convex roller to push it into place.
Step 6: Finishing Touches
After the screen and spline are in place, it is time to trim the excess screen. To make this job easy, a box knife would come in handy. Then it is time to install the hardware you had removed such as the rollers and hands.
You’re all done! It isn’t too of a tricky project to complete, but if you find it isn’t going as well as hoped, you can always call a professional handyman to get the job done. Just remember to take your time with it, and purchase your supplies after removal and measuring.
Rescreening a door shouldn’t be so hard and if you need a professional to handle it all for you, just call Sacramento Handyman at 916-472-0507 or get your estimates here.